Showing posts with label Tags. Show all posts

Friday, August 12, 2022

GIU Day 5 May the Joys of the Season by Yours

For my last day as a GIU girl, I had to make a Christmas Card.  Purple is my favorite color so I thought I would just play and see what happened.

I started with a piece of light purple paper from my stash and ink blended on Wilted Violet and Villainous Potion Oxide inks.  Next, I took the snowflakes from the Beauty of Life SMAK (11/19) kit and stamped them in Villainous Potion in a random pattern all over my card front.  Then I covered the snowflakes with Icicle Embossing Ink.  
Because oxide inks take a little bit to dry, the embossing ink stuck not only to the snowflakes but to portions of my panel.  I was okay with that as I heat set it, it made it feel like there was icy or frosty patches on my card.
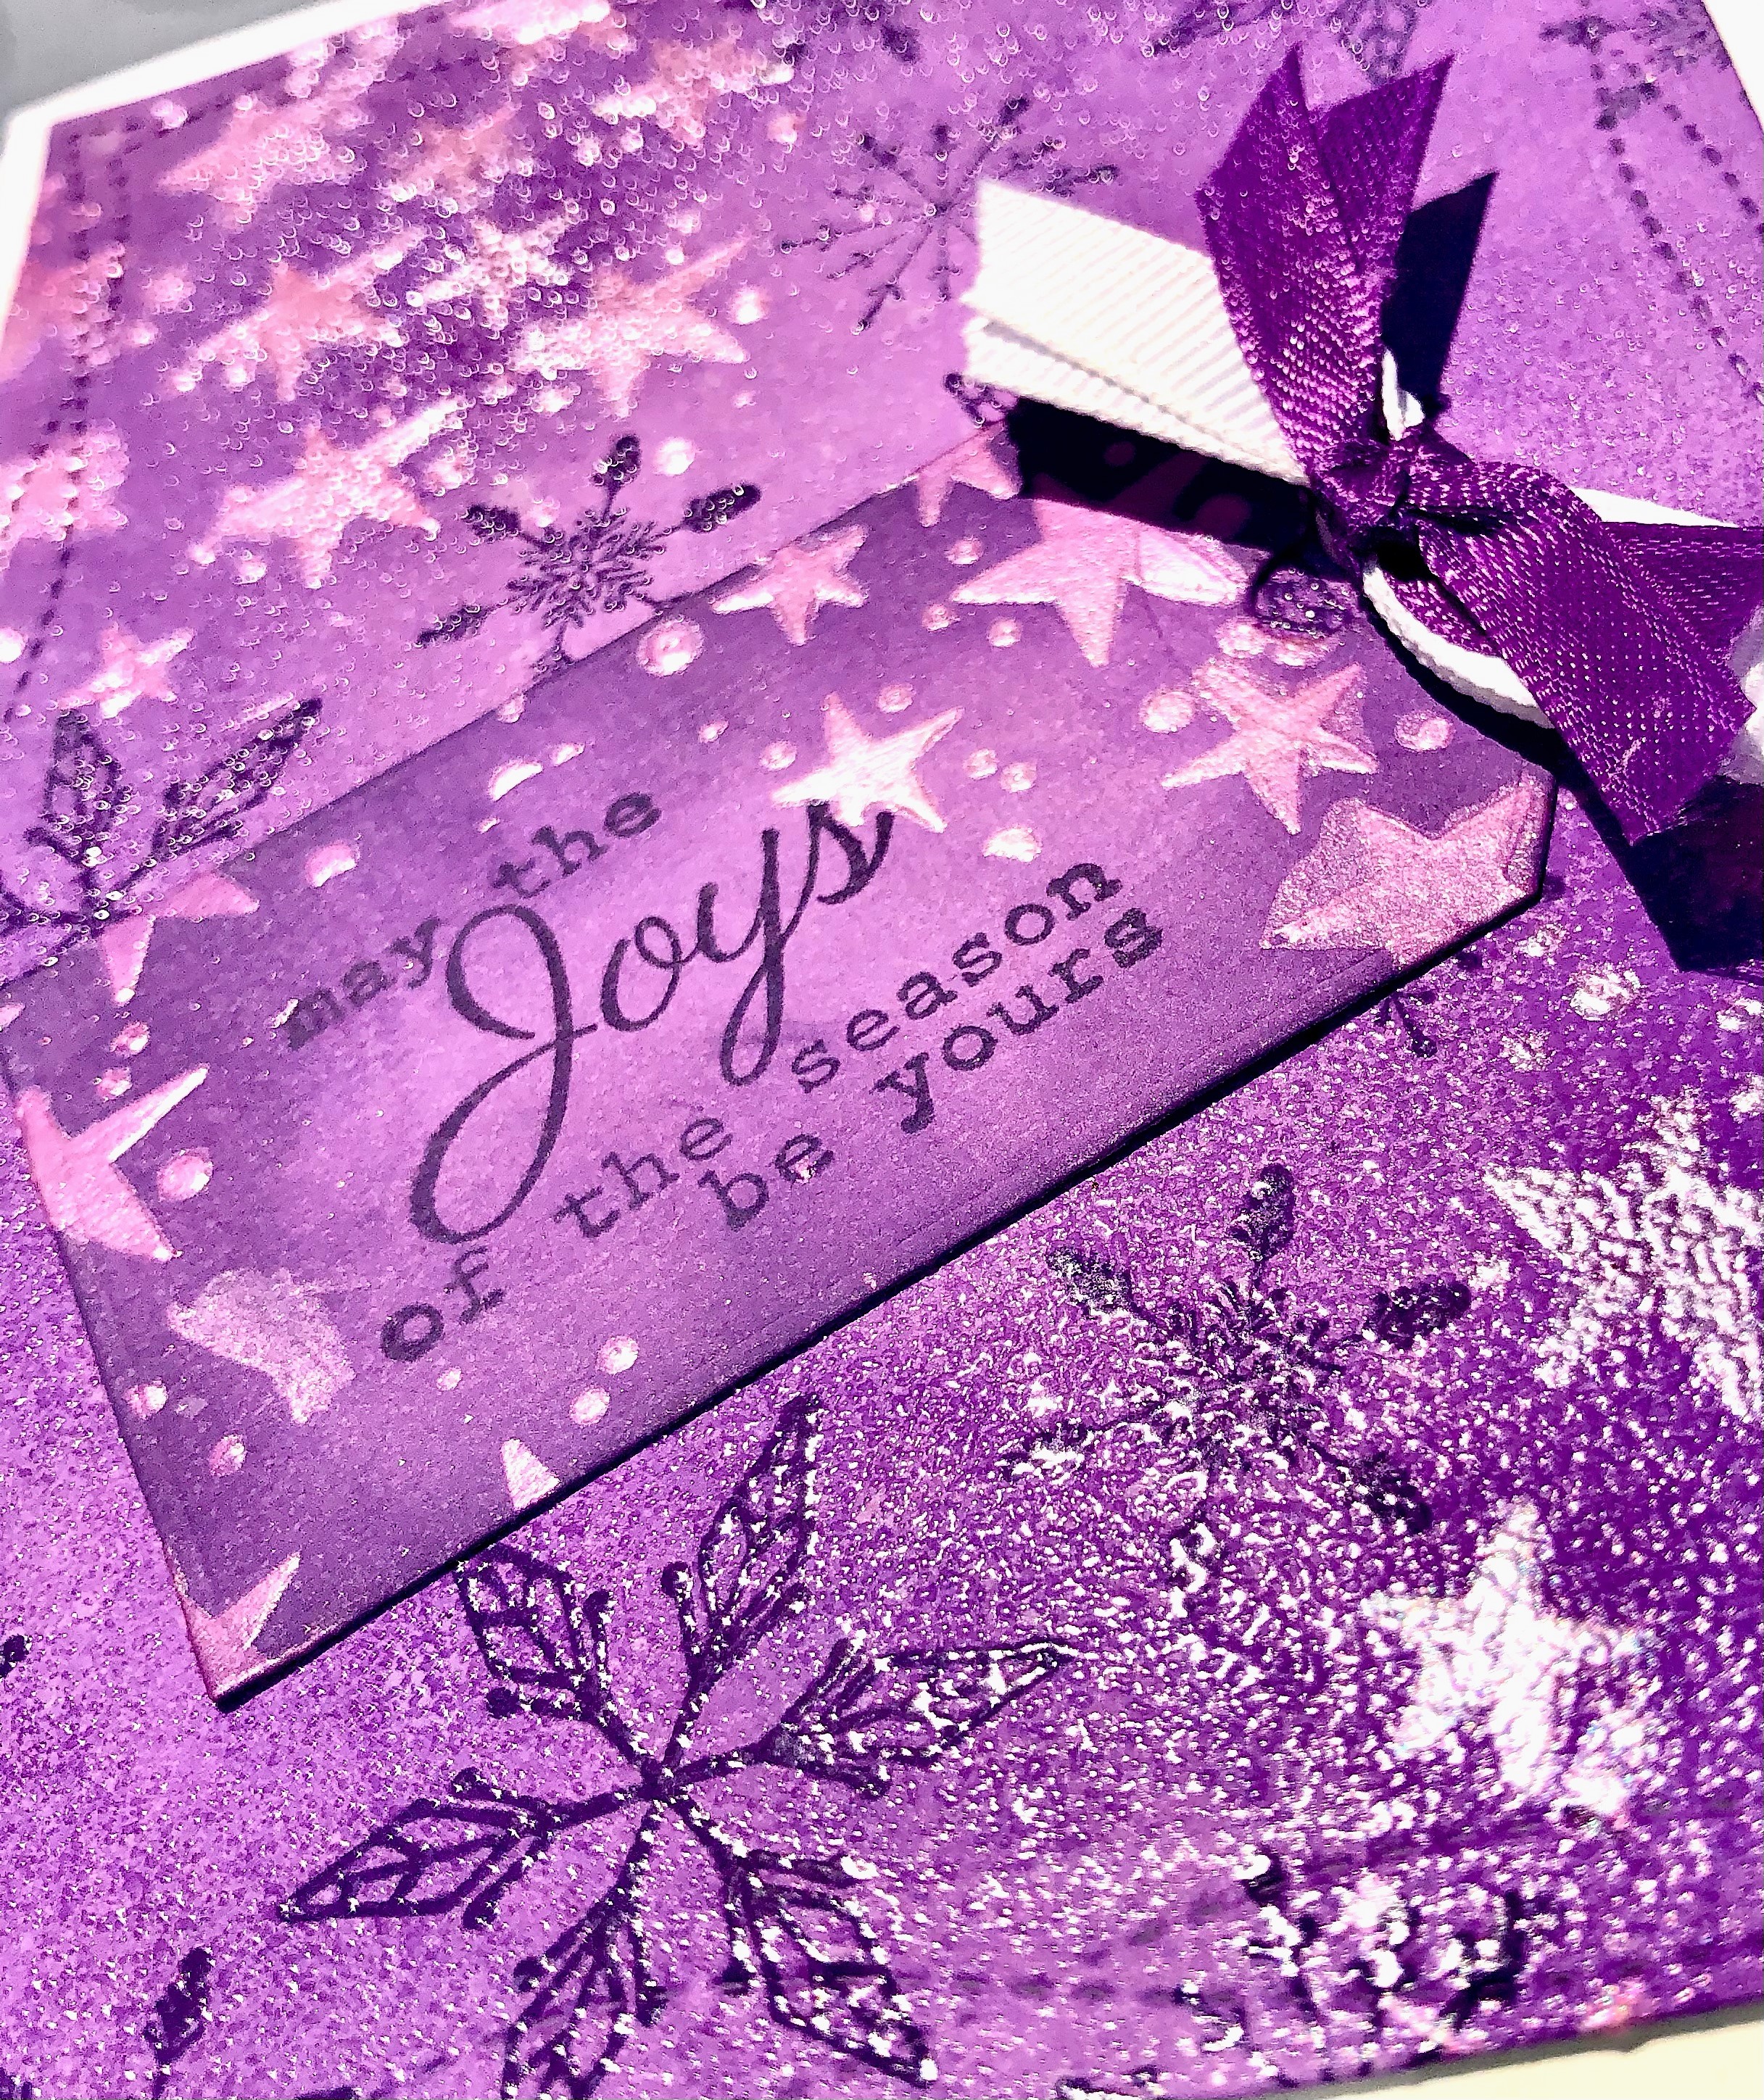
Here you can see the shine on the snowflakes and on the frosty/icy patches on my card.

Then, I took a star stencil from my stash and in the upper and lower corners, I covered the stencil with Opal Chroma Glaze from Brutus Monroe and set my panel aside to dry.

Next, I took another piece of the light purple cardstock and cut it out with a tag die from my stash.  I  stamped the sentiment from Ember Girl in the Villainous Potion and ink blended the same two purple inks around the edges and once again used the Opal Chroma glaze and star stencil.

Once everything was dry, I cut the panel down with a double stitched rectangle from my stash and added the tag to the front. I chose a purple and white ribbon from my stash, tied them in a knot.  To add the ribbon to my card, I used a glue dot.  Then I attached the panel to my white A2 card base.

I hope you enjoyed my week showcasing some of the Unity Products.  Head over to Unity Stamp Co. Website and pick up some goodies for yourself.


Monday, December 14, 2020

Brutus Monroe Christmas Tag Project

 This week I made a set of Christmas Tags.  I pulled out some blue card stock from my stash and used a Stitched Tag die to cut our four tags.  


First, I stamped a To:/From: stamp on the back of all four tags using Raven Detail ink.  Then, I used all of the snowflakes from the new Snow Scenes stamp set with the Alabaster Pigment ink.  I set these aside to dry (pigment ink takes a little while to dry).  Next, I took this adorable snowman from the Stamp of the Month, with some Raven Detail ink and stamped it four times on the Perfect Blend Alcohol Paper.
I used a few Copic markers to color in the hat, band, and nose for the snowman.  I used my scan and cut to cut out all four Snowman leaving a 0.04 border. I used liquid glue to attach them to my dry tags and then used Diamond Stickles to add sparkle to the hat brim and puff ball.  Once the stickles dried, I lined up my tags in my Mini Misti to stamp the Sentiment from Jolly Snowman in the corner also using Raven Detail in.  

Next, I used some scrap white paper to cut out the smallest of the Simple Snowflake dies a dozen or so times.  Using some Pearl Aqua Pigment with just a small spritz of water, I painted all the snowman bodies and all of the die cut snowflakes.  (I love using the Pearl Aqua Pigment to give shimmer and shine to my projects.). Once the snowflakes dried (It only takes a min or so), I attached 3 each to the tags, cutting off any overhang around the edges.  I looked through my ribbon stash and found some sheer ribbon,  red and white, & blue and white bakers twine, cut  a few inches off and threaded them through the hole of my tags to finish off my project.


Here is a slo-mo video trying to show you the  shimmer from the Pearl Aqua Pigment, on the snowman and snowflakes.


Thanks for stopping by.  Do you make Christmas Tags?  Leave me a comment below.

As usual, I have affiliated links to everything in the Brutus Monroe Store. (Affiliated links are at no additional cost to you, I receive small compensation which helps support me.)


Hugs and Kisses Challenge Card (Brutus Monroe)

 This month's CYOEchallenge on the Brutus Monore Fan Club Page is: Break out your sparkles and lets make some fun cards.  I started off...