The Fall Harvest sets is one of my favorites from the fall release. I was so excited to color up these images one I saw this set. I started with a Precut Slimline panel and stamped the first pumpkin to the left in Raven detail ink. I colored it in with some Olo Markers and then used the Brutus Monroe Masking Paper to cover my image. Next, I stamped the leaves on the top of the pumpkin and colored those in.
Then I stamped the red/yellow apple, colored it in and masked it off. I continued these same steps until I had all of my images stamped and colored.
To add a little interest and color to my panel, I lightly inked the new Modern Web Stencil just above and to the left of my images with Simon Hurley Create. Woof! ink.
Finally, I stamped my greeting from the set and matted the panel with some light green cardstock from my stash. I added the panel to my Precut Slimline Card panel that I scored and folded at 3.5" and add just a few green gems around my sentiment.
Today I have for you a punny slim line card. I used the Brutus Monroe Keen Mixed Media Stencil on a Precut Slim Line Card Panel. First I inkblended with Simon Hurley Traffic Cone ink. Then I used the Orange chroma glaze over the top. I didn't cover every area of the stencil so there are some Glaze parts and some inky parts.
Next, I cut down my panel slightly and attached it on my Pre Card Slim line card base, which I scored and folded at 3.5" on the 7" side. I used a piece of 1" x 8.5" white scrap cardstock for my sentiment. I stamped both this punny sentiment and the Oranges with the same Traffic Cone ink and lightly colored in the oranges with Olo Markers. Both the sentiment and Oranges are from the Breakfast Puns stamp set.
All links are affliate links, which helps bring me content but is no additional cost to you. Thank you for using affliate links.
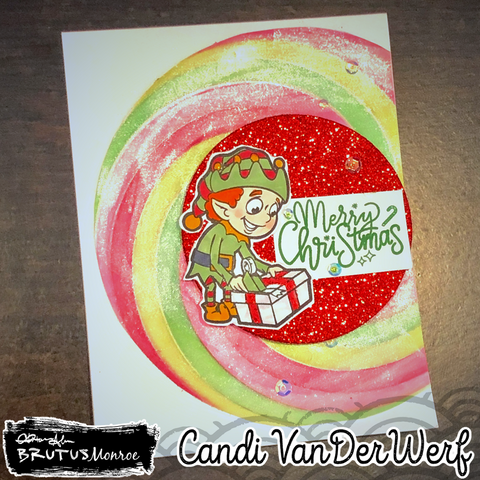
Continuing to wipe off my stencil between inks, I completed the spiral alternating back and fourth between the red and green inks until my circle was complete. Next I used some watered down Pearl Aqua Pigment and a paint brush to cover the entire blended area. This gives the spiral lots of shimmer and shine.
I trimmed the panel to 4" x 5.25" with my paper cutter. Using my scissors, I trimmed out the spiral around the outside and used a circle die to cut out the center. I adhered the Spiral to and A2 Top folding Card base, lining up the spiral edge with the right edge of my card base.
Next, I used another circle die to cut some Red Glitterstock for the center of my spiral. I adhered this with some foam tape. For a focal point, I stamped one of the elves from Crafty Elves with Raven Detail Ink on Perfect Blend Alcohol paper and colored him in with Copic markers. After I fussy cut him out, I added some shimmer to the yellow on his outfit and to the red ribbon on the package (also with some watered down Pearl Aqua Pigment).
For my sentiment, I stamped the Merry Christmas from the Snowflake Swirl stamp set with Fake Plant and trimmed it down. I adhered both my sentiment and elf to the center of the Glitterstock circle with liquid glue.
Finally, I added just a touch of more sparkle with some sequins from my stash.
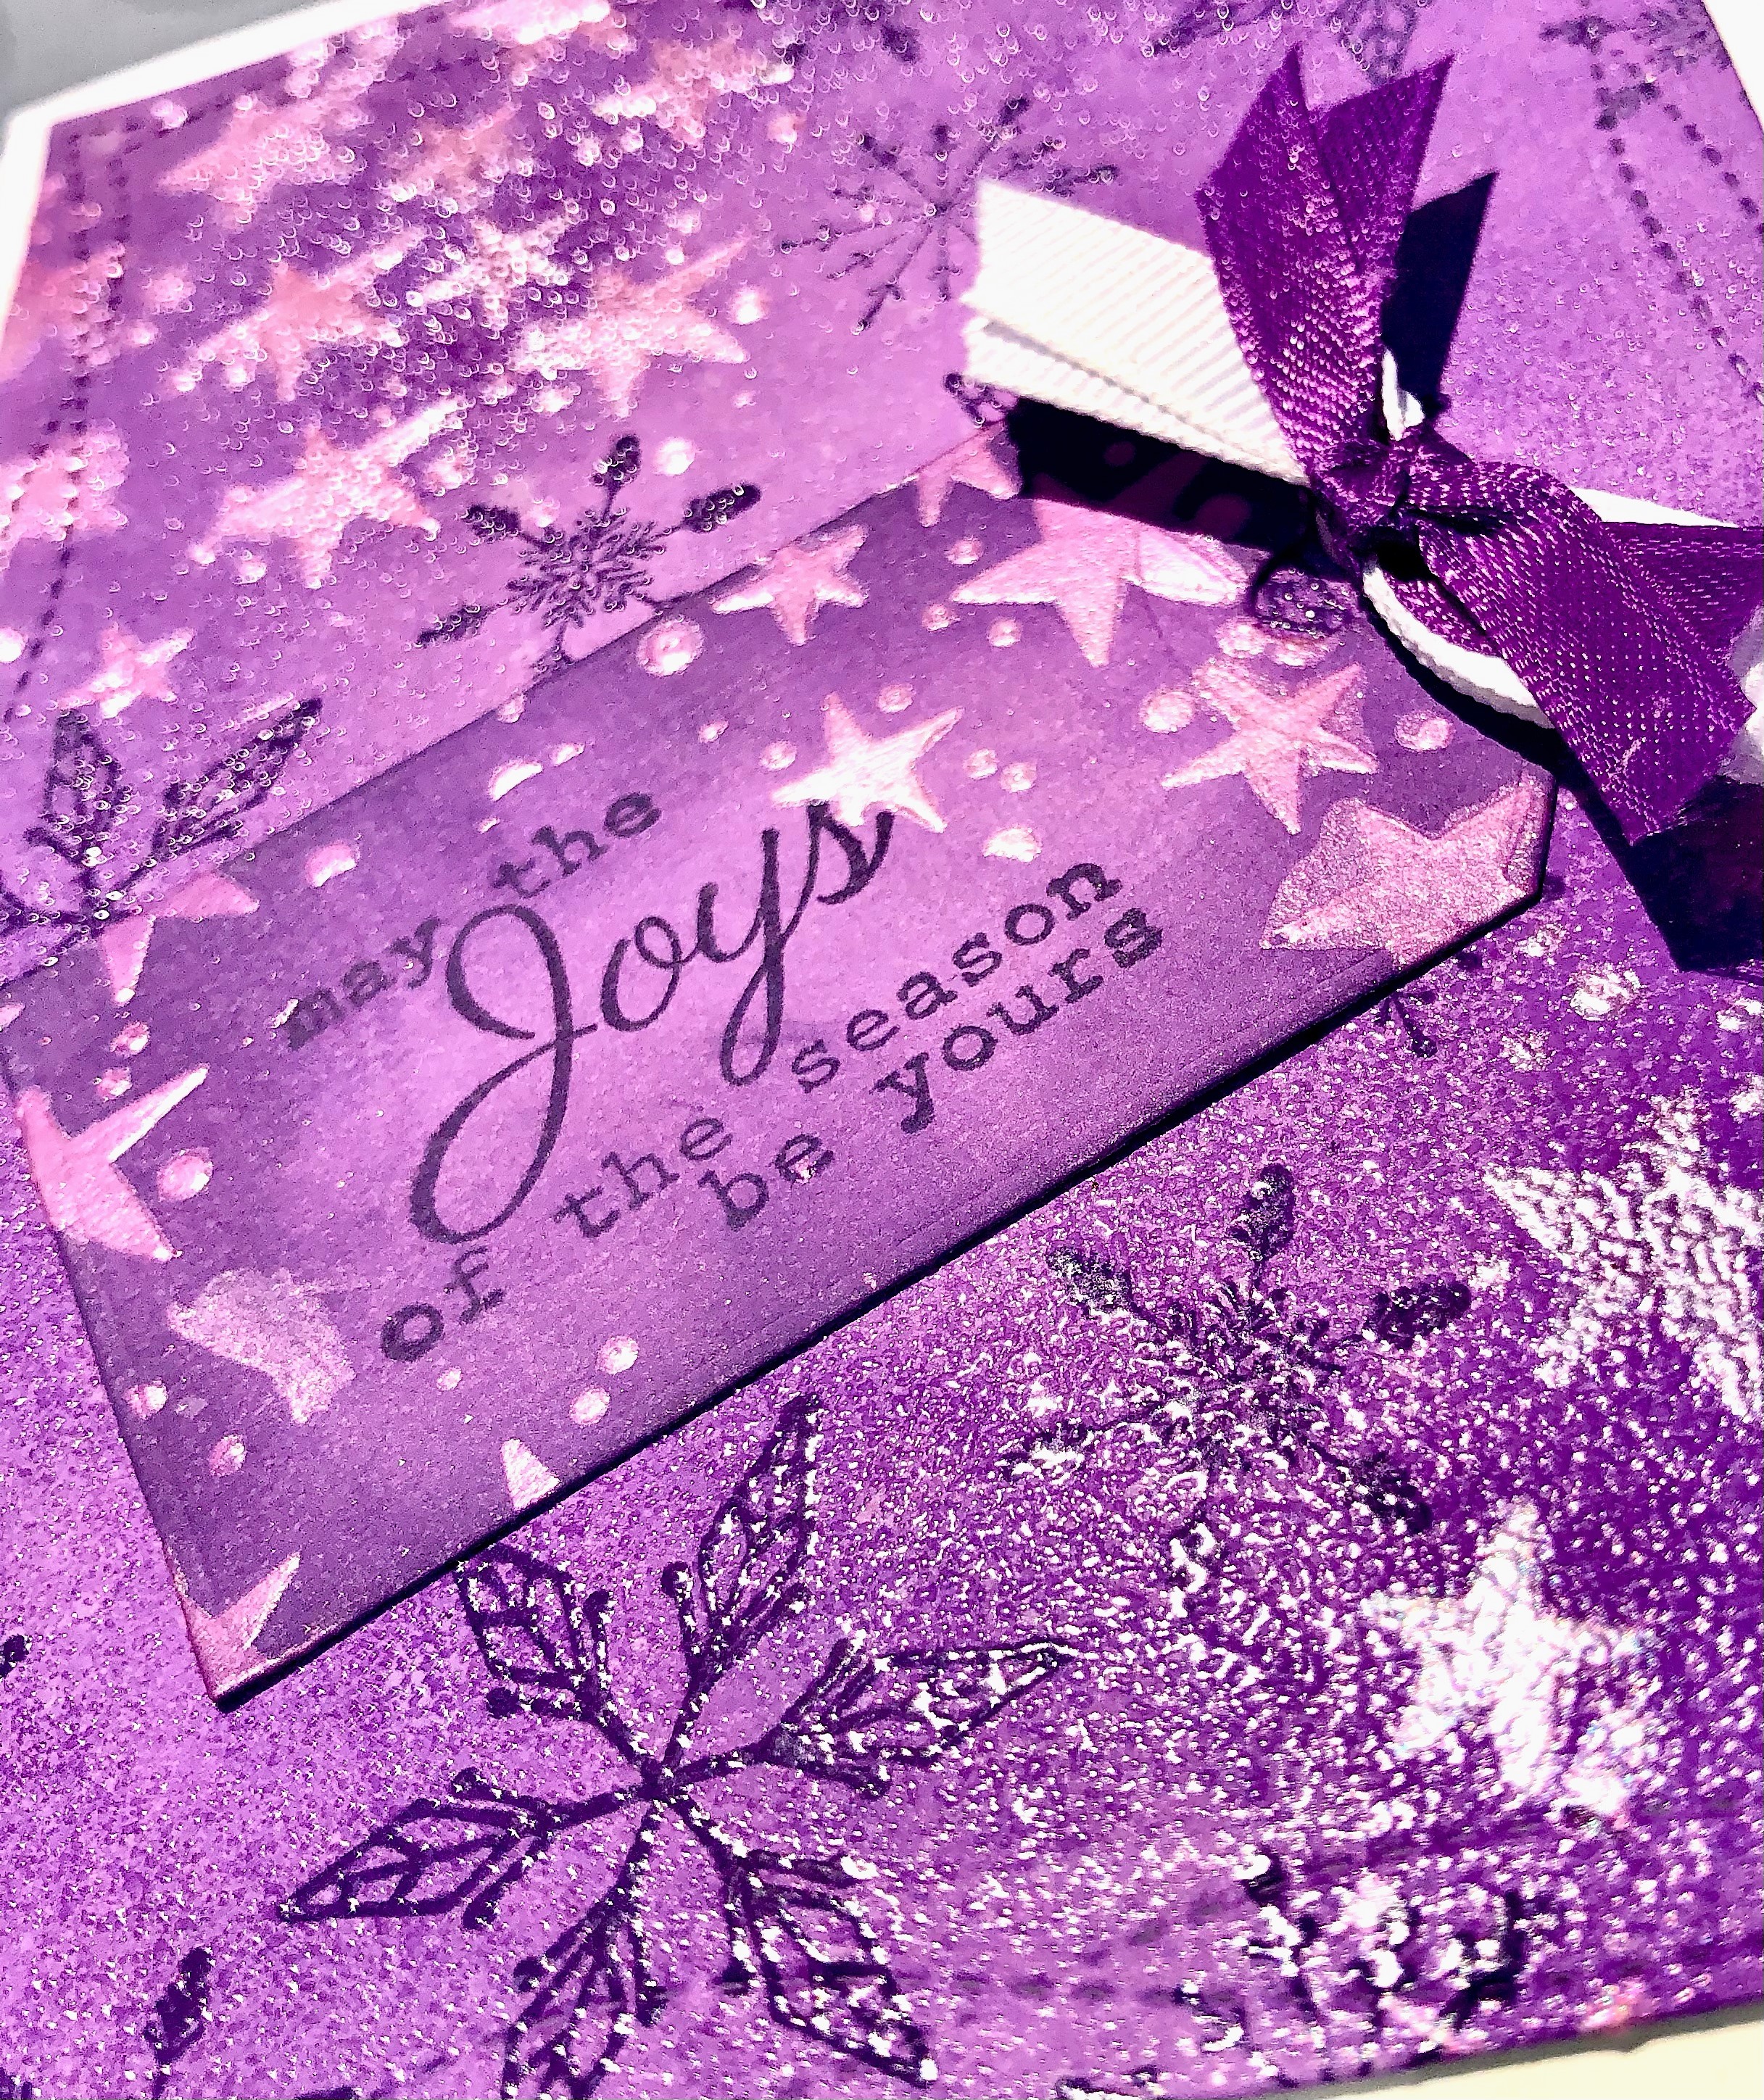
For my last day as a GIU girl, I had to make a Christmas Card. Purple is my favorite color so I thought I would just play and see what happened.
I started with a piece of light purple paper from my stash and ink blended on Wilted Violet and Villainous Potion Oxide inks. Next, I took the snowflakes from the Beauty of Life SMAK (11/19) kit and stamped them in Villainous Potion in a random pattern all over my card front. Then I covered the snowflakes with Icicle Embossing Ink.
Because oxide inks take a little bit to dry, the embossing ink stuck not only to the snowflakes but to portions of my panel. I was okay with that as I heat set it, it made it feel like there was icy or frosty patches on my card.
Here you can see the shine on the snowflakes and on the frosty/icy patches on my card.
Then, I took a star stencil from my stash and in the upper and lower corners, I covered the stencil with Opal Chroma Glaze from Brutus Monroe and set my panel aside to dry.
Next, I took another piece of the light purple cardstock and cut it out with a tag die from my stash. I stamped the sentiment from Ember Girl in the Villainous Potion and ink blended the same two purple inks around the edges and once again used the Opal Chroma glaze and star stencil.
Once everything was dry, I cut the panel down with a double stitched rectangle from my stash and added the tag to the front. I chose a purple and white ribbon from my stash, tied them in a knot. To add the ribbon to my card, I used a glue dot. Then I attached the panel to my white A2 card base.
I hope you enjoyed my week showcasing some of the Unity Products. Head over to Unity Stamp Co. Website and pick up some goodies for yourself.
Since Father's Day is this weekend, I thought I would show you the card I made for my dad. Sometimes its hard to know what to use for a masculine card and my go-to is usually a brown and a blue color.
I started with the June 2022 Stencil of the month Groovy Grid. Using my Stick and Stamp Mat and coordinating Blending Buddy, I placed my 4.25" x 5.25" white card panel in the middle, with the stencil on top. I used my blending tools to add Simon Hurley Creates Grrr! and Clear Skies inks in a random panel over the stencil.
Then I cut the panel and a brown mat with some stitched rectangle dies from my stash. I cut the dad from the center of my brown mat (since it will be covered by my panel).
Next I cut out two of the smaller and one of the larger leaves from the Fabulous Florals set and ink blended some Clear Skies ink over them. I just used what was left on my brushes and did a light coat so that some of the white cardstock showed through as well.
For my companion sentiment, I stamped the You're my Favorite (from Super Sentimental) in Clear Skies in and cut it out with a stitched die from my stash. To soften the white of the circle, I lightly blended some of the leftover Grrr! ink from my brush around the edges and along the edges of my dad letters (cut from an alphabet set in my stash).
After I matted the card panel and mat to my Precut A2 Card base, I used the Dad letters to line up my circle sentiment and leaves. Finally, I added my DAD over the top of the leaves and just overlapping the bottom of my companion sentiment a bit.
Here is a look at my card one more time:
Thanks for joining me today. Have a fabulous rest of the week and remember to create something everyday!
It has been awhile since I had a blog post. I started a new job last fall and have been attempting to balance my crafting and work life. So today, I have a slim line card today featuring the stencil of the month and a variety of stamps from the Brutus Monroe. All of these stamps come from the April Subscription products and I have the links below.
I started by using a slim line precut panel and place it on my Stick and Stamp mat. I turned the Stencil of the month (called Vintage Tile) on the diagonal over my panel. I used some post-it note tape to cover the corners of my panel to keep them clean while I blended. Using some blending brushes and some Simon Hurley Inks for my design, I used each color about a third of the way across the stencil. I started blending at the top with Shooting Star ink. In the middle, I used Traffic Cone and ended with Bee Sting, overlapping the inks slightly for a transition. To remove my panel from the Stick and Stamp mat, I carefully roll the edges of my mat (gently) until the panel "pops" off. Then I used my Stick and Stamp Mat Mist Cleaner to wipe off an ink.
I then took another piece of the precut slimline panels and blended the same three inks along the edges to create a mat layer that matched my stencil. I cut the stenciled piece down slightly to about 3" and placed it on my mat, which was cut to about 3.25" I then used tape runner to attach it to my Precut Slimline card base.
I arranged the images to on the bottom right of my panel and attached them with liquid glue. To finish my card, I used the sentiment from the April Stamp of the Month, and adhered it right above my stamped and colored images. (The stamp+ club is the the stamp of the month and coordinating die which you can find here.)
Today I bring you a fun card featuring the stamp from the November ATC kit-Unique Pet. I started by choosing a background from my stash that I made with Alcohol ink on Yupo paper. After treating the front with my antistatic bag, I stamped the Chameleon with the Brutus Monroe Embossing ink and covered it with Raven Detail Embossing Powder. I carefully heat set the powder, making sure to not get my heat tool too close to the paper (Yupo paper is plastic) and to continue to move my heat tool until all the powder was melted.
For my back ground I used the Circle Tone stencil and blended Simon Hurley Creates Overzealous ink. Before I removed my stencil, I spread Fallen Snow Glitter Glaze. I removed the stencil and cleaned everything up. While I left my panel to dry, I fussy cut out the Chameleon. Then I found a light green piece of paper from my scrap bin and stamped the sentiment from the set with Raven Detail ink.
I took the largest branch from the Birdhouse Builder Set and cut it out of wood grain paper. Once my panel was dry (about 30 mins) I used liquid glue to attach everything the the front of my panel. Then I used some adhesive to attach the panel to my white A2 card base.
Today I have 6 cards to share with you from the Spooky Kids Stamps and Coordinating Die set from Brutus Monroe. Each card also features a different stencil and glaze also from Brutus Monroe.
VAMPIRE
I started with Raven Cover Cardstock cut down to 4.25" x 5.5". I used some low tack tape to attach the Batty Stencil to my cardstock. Using a silicone spatula, I spread some of the Night Sky Velveteen Glaze in the upper corner of the stencil and covered just part of it. I only wanted a small pattern of the bats for this card. I set the panel aside to dry. Once it was dry I used the second largest Rectangle Foundation die to cut it out. I used another Rectangle die from my stash to cut out a mat layer from Scarlet Cover Cardstock. I used my embossing bag to treat the Scarlet cardstock and stamped the sentiment from Spooky Sentiments with Brutus Monroe Embossing Ink, in the center. I covered the sticky ink with Raven Embossing Powder and heat set it. I used a banner die from my stash to cut out the sentiment. (Using the middle of the mat paper for my sentiment saves on paper and once I mat the Black card panel on the top, no one will ever know that I cut out a piece from the Scarlet mat.) I stamped the Vampire from the Spooky Kids stamp set with Raven Detail ink on some Perfect Blend Alcohol Paper. Then I colored him in with a variety of Copic markers and cut him out with the Coordinating Die. I used liquid glue to put my card panel together with the Image, sentiment and mat. My cardbase is made from Raven Cardstock and is standard A2 size. For the inside of the card, I placed another piece of Scarlet cardstock, and stamped a Happy Halloween sentiment with Raven detail ink.
GHOST
I started with Raven Cover Cardstock cut down to 4.25" x 5.5". I used some low tack tape to attach the Hoiden Stencil to my cardstock. I carefully covered just the stencil with Glow in the Dark Chromas Glaze, making sure not to go outside the edges of the stencil (this is a circular stencil). I set this panel aside to dry. Once it was dry I cut it with the second largest Rectangle Fondation Die and my mat was cut with a large Rectangle die from my stash and a green piece of paper from my scrap bin. I used my powder tool on the green mat and stamped the sentiment from Spooky kids with Brutus Monroe Embossing ink. After covering with Raven Embossing Powder, I heat set it and cut it out with a rectangle die. I stamped the Ghost from Spooky Kids with Raven Detail ink on Perfect Blend Alcohol Paper and colored him in with Copic markers. After I used the coordinating die to cut him out, I used liquid glue to attach my sentiment and image to the front of my panel. Then I attached the panel to the green amat. To finish my card, I chose a white A2 Card base and used liquid glue to attach my matted panel.
ZOMBIE
I started with Raven Cover Cardstock cut down to 4.25" x 5.5". I used some low tack tape to attach the Slim Line Ripple Stencil to my cardstock at an angle. I covered the edges of my stencil with low tack tape to protect the card panel. Using a Silicone spatula, I spread some Lima Bean Velveteen Glaze across the entire stencil. (My mind saw this stencil as a brain pattern, which I thought would fit nicely with the zombie.) While the panel was drying, I stamped my image with Raven Detail ink on some Perfect Blend Alcohol Paper,colored it in with Copics, and cut it out with its coordinating die. Next, I cut down a green piece of paper with a rectangle die from my stash. I treated the paper with my embossing bag and after stamping my sentiment from Spooky Sentiments with Brutus Monroe Embossing Ink, I covered it with Raven Embossing powder, heat set it and cut it out with a die from my stash. Once my panel was dry, I used the second largest of the Rectangle Foundation dies to cut it out and mat it on my Green piece. I used liquid glue to attach my zombie and sentiment to the front of my stenciled panel. I attached the entire thing to a Raven A2 card base. Inside I included another piece of green paper with a Happy Halloween Sentiment stamped on it.
WITCH
Taking a piece of white cardstock I attached the Random Dots Stencil with low tack tape. I took some Marmalade and Amethyst Glitter Glaze and spread each color on a different side. Then I carefully combined the colors in the middle. I set the panel aside to dry and worked on my image. The Spooky Kids witch was stamped on Perfect Blend Alcohol paper with Raven Detail ink and colored in with Copic markers. I used the Coordinating die to cut her out. Next, I looked through my scrap bin and found a light purple piece of patterned paper and cut it out with a rectangle die from my stash. I cut a circle out of the center of the purple panel. After treating the circle with my embossing bag, I stamped the sentiment from the set with Embossing Ink and covered it with Alabaster Embossing powder. After heat setting it, I attached it to the front of my card panel along with my colored witch with liquid glue. Then I glued the panel to my purple mat and then glued the whole thing to the front of my landscaped A2 white card base.
FRANKIE
I started with Raven Cover Cardstock cut down to 4.25" x 5.5". I used some low tack tape to attach the Slim Line Pathway Stencil to my cardstock. I covered the right edge of my card panel with low tack tape to protect it from my glaze. I used a silicone spatula to spread the Purple Galaxy Glaze over the stencil. Once I removed the stencil, I sprinkled some Fallen Snow Glitter over parts of the wet glaze for some sparkle and set the panel aside to dry. Next, I stamped the zombie image on some Perfect Blend Alcohol Paper with Raven Detail ink, I colored it in with Copic markers and cut it out with the coordinating die. Using a scrap piece of purple paper cut down with a Rectangle die from my stash, I stamped my sentiment from the set with Embossing ink. I sprinkled it with Alabaster Embossing Powder and heat set it. Then I used a rectangle die to cut it out of the center of my mat. Once.my Galaxy glaze panel was dry, I used the second largest Rectangle Foundation die to trim it down and attach it to my purple mat. I used liquid glue to attach my sentiment and Frankie to the front of my panel. Then I attached the entire thing to a white A2 card base.
PUMPKIN
I started with a piece of white cardstock cut down to 4.25" x 5.5". I used some low tack tape to attach the Kramer Stencil to my cardstock. I used a silicone spatula to spread some Lima Bean Velveteen Glaze over the entire panel and then set it aside to dry. One it was dry, I cut it out with the second largest Rectangle Foundation die. I matted the panel on a piece of orange with white polkadot paper from my scrap bin. This patterned paper was cut down to a mat side with another rectangle die from my stash. Before I attached the panel to the patterned paper, I cut out a rectangle from the center with a die from my stash. I treated this rectangle with my antistatic bag and stamped my sentiment with Brutus Monroe Embossing Ink. I covered the ink with Raven Embossing Powder and heat set it. I attached the Pumpkin girl and sentiment to the front of my matted Velveteen panel with liquid glue. Then I attached the entire thing to my white A2 card base.
List of Products Used (available in the Brutus Monroe Store): Affliated links are not at any additional cost to you, however, they help support me to bring you new content.
Today I am up on the Brutus Monroe Blog. Fall is tied as my favorite season along with winter (shocking I know). However I love Halloween, my daughter was born in October and fittingly could celebrate Halloween all year round. I always tried to make Halloween special for her and I love making her Halloween cards.
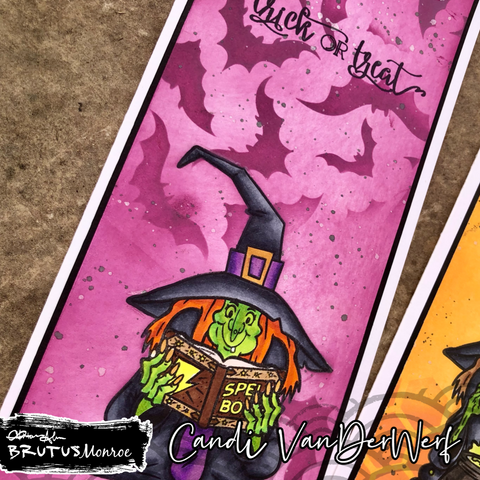
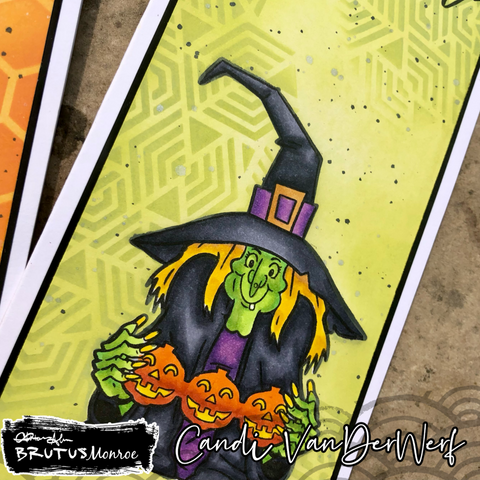
Today I have three cards for you featuring the witches from the Crafty Witch and Witches Brew Stamp sets. All three cards were made the same but with different stamps, inks and stencils.
To start, I cut down three heavy white cardstock to 8.5" x 7" panels, scored each at 3.5" to create my card bases. Each 8.5" x 11" cardstock gives me one card base and a card panel. The card panels measure 8.5" x 4" which I cut down to 8.5" x 3." First I used Raven Detail ink to stamp the three witches on the bottom half of the card panels. Then, I used Copic markers to color them.
Before I inkblended my backgrounds, I created masks for each witch with Masking Paper (or you could use Post-it note paper). I trimmed each mask down the middle of the outside edge of each stamp. This gives me masks that are slightly smaller than my image, but yet still cover up the image completely.
Once I covered each colored image with their coordinating masks, I used Distressed inks to lightly ink each background. Then I used the same ink and a stencil to heavily apply the pattern to a few areas around the panel.
For the Spell Book witch, I used Seedless Preserves and the Batty Stencil.
For the Pumpkin witch, I used Twisted Citron and the Hidden Temple Stencil.
For the Cauldron witch, I used Carved Pumpkin and the Honeycomb Stencil.
Next, keeping the masks in place, I place the three panels in my splat box so I could add some splatter. For the Black Splatter, I used Raven detail reinker and a tiny bit of water to thin it out on an acrylic block and a paint brush to flick it over the card panels. For the Shimmer splatter, I removed the pump/sprayer from the Pearl Shimmer Mist and used the plastic tube and lightly shook it over the card panels.
Once the panels dried, (it took about 15 mins) I placed each panel in my Original Misti and stamped the sentiments from Crafty Witch with Raven Detail ink towards the top of each panel. Then I matted each panel on some Raven Cardstock that measured about 3.25" x 8.5" and then finally glued the panels to my white card bases.
Which card is your favorite? Do you decorate for fall or Halloween? Thank you for stopping by and have a great day.
Start by cutting out an Orange cardstock A2 panel. Using the Misti for placement, stamp the Pumpkin from Oh My Gourd in the bottom left corner of the panel with Raven Detail ink. Using a green Copic marker, color in the leaves and vines of the image. While the stamp is still in your Misti, stamp out the three squash blossoms on yellow cardstock scraps. Next, stamp the pumpkin image on masking paper and fussy cut out.
Arrange the mask over the pumpkin image. Using the Batty Stencil, place toward the top of the panel, covering up any bats that you do not want to use with low tack tape. Using a palette knife, carefully smooth over Raven Glitter Glaze over the three bats desired. Remove stencil and mask carefully. Set the panel aside to dry. Quickly clean up the palette knife and any glaze on the stencil.
Once the panel is dry, arrange the Spooky eyes stencil on the background, covering unwanted eyes with low tack tape. Using a palette knife, smooth Key Lime Glitter Glaze over eyes. Remove and clean stencil, letting the panel dry. Continue these steps until you have the desired number of eyes in the background. Remember to dry between steps when placing the stencil in a new area.
Once the panel is completely dry, line up the Happiest Halloween stamp (or sentiment of choice) in the open space and use the Misti to stamp it in Raven Detail ink. Using a blending tool, lightly blend some Raven Detail ink around the edges of the panel.
Fussy cut out the yellow squash blossoms and use liquid glue to attach over the image. To make the "cinderella pumpkin," place some Pearl Aqua Pigment on a glass mat and use a small paintbrush to paint the pumpkin. Once the panel is fully dry, cut it down slightly and mat it on a black mat measuring 4.25" x 5." Finally, attach the matted panel to a white A2 card base.
First, I cut a piece of black card stock to 8.5" x 3.5." Next, I took theShooting Star Stenciland lined it up on the bottom of my card panel. I used theGlistening Snow Chroma Glazeand myStencil Palto spread the glaze over the stencil. (Usually I usedPixie Sprayto hold my stencil when using glazes but because this stencil is not as delicate as others, I just used some low tack tape to hold it in place.) One tip I have, is that I have found that if I use my Stencil Paland I only pull the glaze in one direction, I have less bleeding under the stencil.
Next, I carefully removed my stencil and cleaned it off. Then, I rotated my stencil and placed it towards the top of my card panel being careful to not touch my wet glaze. After spreading more Glistening Snow Chroma Glaze, I again carefully removed the stencil and set my panel aside to dry overnight. I wanted my stencil to be in two different patterns so when I turned it when placing it on my panel. This made it look almost like a star spiral pattern.
The next day, I placed my dry panel in my splat box and sprayed it with the Pearl Shimmer Mist. When I removed the card panel, I accidentally wiped some of the wet drops and they ended up looking like shooting stars. I took a cloth and wiped a few more to make more "trails" for some stars. Once the spray dried, I used an antistatic powder tool to the panel and stamped the Shoot for the Stars sentiment (from the stamp set from with the same name) with Brutus Monroe Embossing Ink. I covered the sticky ink with Alabaster Embossing Powder and heat set it.
My card base is made from a white heavy card stock that measures 8.5" x 7." I scored it at 3.5" on the short side. After folding and creasing my card base, I attached my card panel to the front of the to finish my card.
Here is a close up of some of the stars and Shimmer Spray.
First, I started by taking a pre-cut slim line card base and used some washi tape to hold the Slimline Umbrella Stencil in place. I used a blending brush with Marsala Surface Ink, I repeated this with the 6x6 Umbrella Stencil and an white card panel measuring 4.5" x 5.5." Before I removed my stencil, I used a palette knife to spread some Pearl Chroma Glaze over the top of both blended panels and stencils. I used a small layer, spreading in only one direction and not worrying if it covered the entire blended area. I carefully removed the stencils, set the panels aside to dry and took the stencils to the sink to wash.
Next, I stamped two of the images from the Mother's Day stamp set with Raven detail ink on Perfect Blend Alcohol Paper. I smooshed some Marsala, Grass Stain, and Maple Surface Ink on my glass mat. Using a water brush, I picked up the ink and painted the flowers with Marsala, the Grass Stain in the leaves and stems, and the Maple for the center of the big flower and the branch. Then I used my Brutus Monroe scissors, to fussy cut out both flowered images. \
Once my card panels were dry (I usually leave them overnight), I used the Slim line and 2nd largest Rectangle foundation dies to cut them down slightly. Then, I decided I wanted to mat my panels before I put them on my card base. I cut down some Marsala Card stock. For my slim line card, I cut the card stock to slightly smaller than 3.5" x 8.5" and for my A2 panel to 4.25" x 5.25."
I used a piece of scrap Marsala cut to 9/16" x 8-7/8," and stamped the Thinking of You sentiment from the stamp set with Brutus Monroe Embossing Ink. I covered it with Alabaster Embossing Powder and heat set it. I did the same thing for the Thank you sentiment and cut it out with Circle Foundation die.
Next, I attached my panels to my mats and my white card bases. For my slim line card, I attached the sentiment strip to the panel first and then my image, using liquid glue. For the A2 Card I attached the image first and then my sentiment also using liquid glue. For a finishing touch, I used some clear glaze from my stash to add drops to the center of the flowers on my slim line card.
Here is a close up of the shine from the Chroma glaze and the liquid pearls I added to the center of the flowers.
Here is a list of product used with affliate links to the Brutus Monroe Store: